
We had a client recently ask how we produce such good audio quality for websites. For quick screencasts and tutorials we focus on a few key elements and simplifying the setup so we can get rolling without much setup time. Here’s a few tips to consider:
Start with Good Equipment
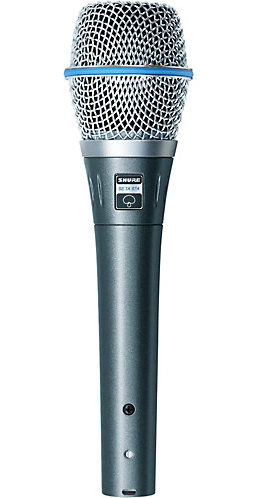
Microphone: We used a Shure Beta 87A, a vocal mic we had left over from when we played in a band. It’s a really great mid-priced professional microphone. Since it’s a condenser microphone, it requires external power in the form of a preamp.
Preamp: A preamp provides power to a condenser microphone. For convenience we use an MXL Mic Mate Pro, which has a mini USB port so we can plug it directly into my computer. If I’m getting more serious about things, I’ll drag out a proper tube preamp to warm up the tone a bit.
Pop Filter: Sometimes we skip this for quick screencasts, but If I’m recording for public consumption I’ll use a pop filter to minimize popping from “P” sounds and to serve as a guide for distance.
Mic Stand: Not having to hold the microphone and having a place to clip on the pop filter is all but necessary. We use a good but inexpensive desktop mic stand by On-Stage.

Consider Your Environment
The quieter environment you have to start with, the better. After you have your levels set, record a bit without talking and see what you can pick up in the recording, ideally with headphones. Can you hear the A/C running? Cars driving past? Hum from the computer fan? Do what you can to eliminate the background noise before recording.
There are some relatively inexpensive acoustic panels that can be used to dampen echo if needed. You want to make the room as “dead” as possible. In a pinch you can use a bedroom closet. The clothes hanging up will serve to deaden most any echo.
Edit in Post-Production
You can use audio programs such as Audacity to make adjustments to audio levels, apply normalization to smooth out the peaks and valleys, and remove background noise. As with all post-production, it’s always an easier task and you’ll get better results if the initial recording environment is done well. As the saying goes, garbage in, garbage out!
Keep Notes for Consistency
It’s a good idea to keep some notes on the settings and placement of your gear and software settings. You’ll inevitably want to re-record a portion of your audio or add to the collection, so you’ll want to keep all variables the same to achieve a consistent result. I’ve even noticed that my mood from one day to another effects the tone of the audio. If you’re punching in a section to replace/edit, it’s a good idea to review the audio leading up to the edit and put yourself in the same headspace.
Questions?
Have some questions about how we can help you produce audio for your website? Contact us and let us know what you need!